> ## Documentation Index
> Fetch the complete documentation index at: https://docs.cube.dev/llms.txt
> Use this file to discover all available pages before exploring further.
# Connect to Snowflake
> Provision a Cube Cloud deployment, create a project, and authenticate Cube to query tables in Snowflake.
In this section, we’ll create a Cube Cloud deployment and connect it to
Snowflake. A deployment represents a data model, configuration, and managed
infrastructure.
To continue with this guide, you'll need to have a Cube Cloud account. If you
don't have one yet, [click here to sign up][cube-cloud-signup] for free.
First, [sign in to your Cube Cloud account][cube-cloud-signin]. Then,
click **Create Deployment**:
Give the deployment a name, select the cloud provider and region of your choice,
and click **Next**:
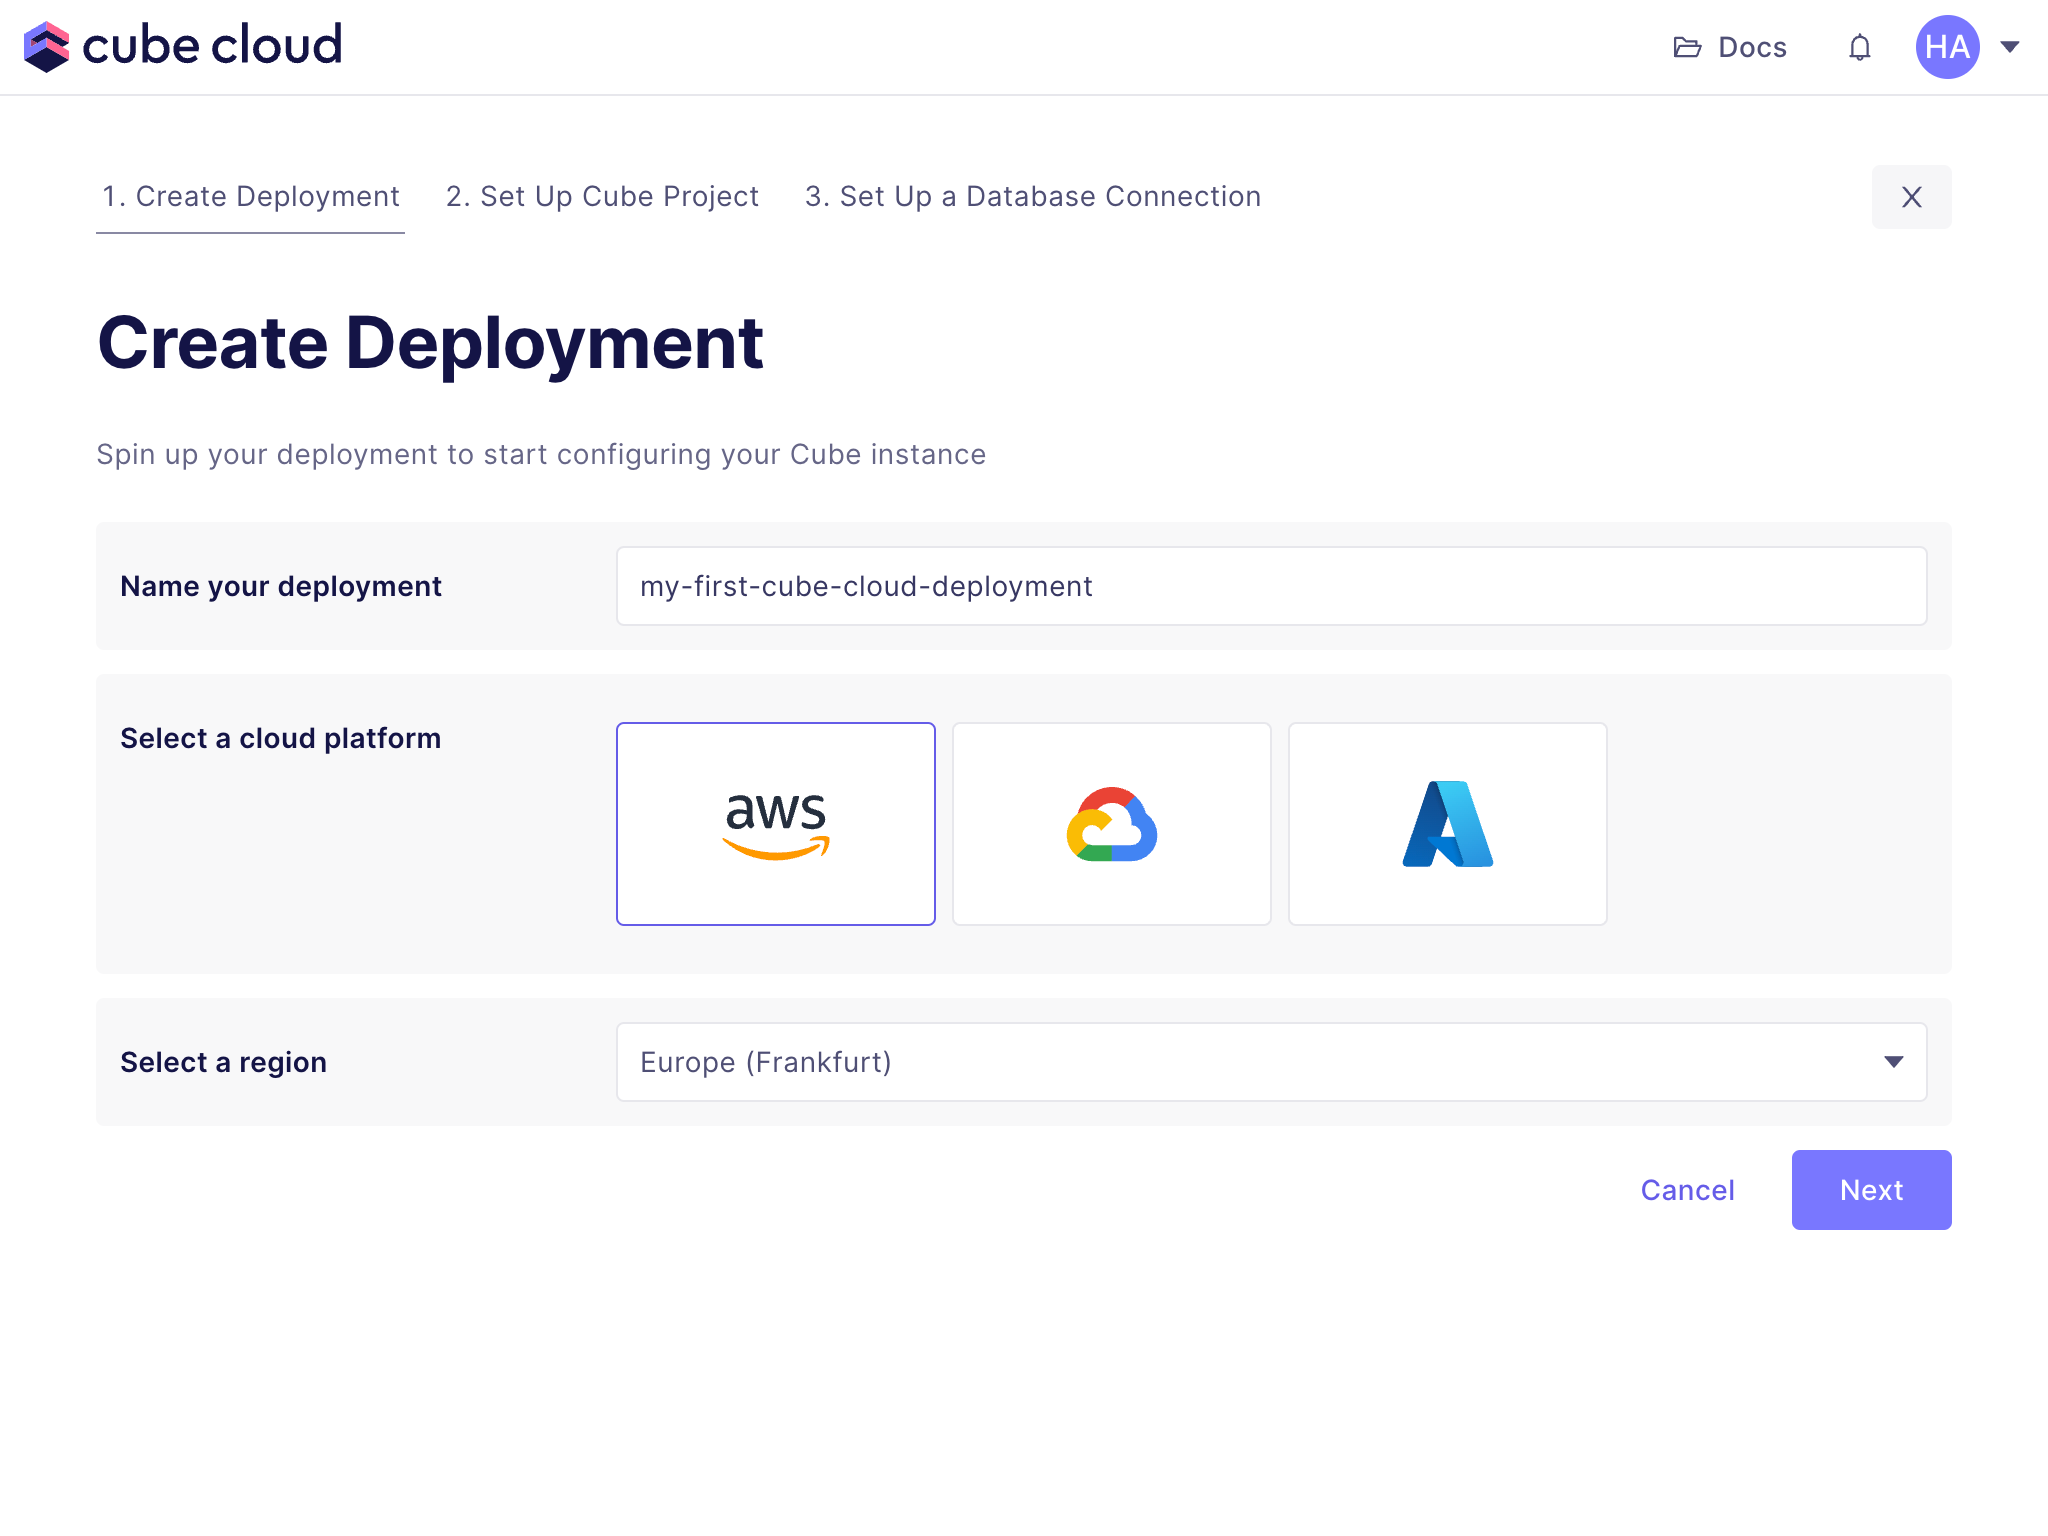 Microsoft Azure is available on [Enterprise plan](https://cube.dev/pricing).
[Contact us](https://cube.dev/contact) for details.
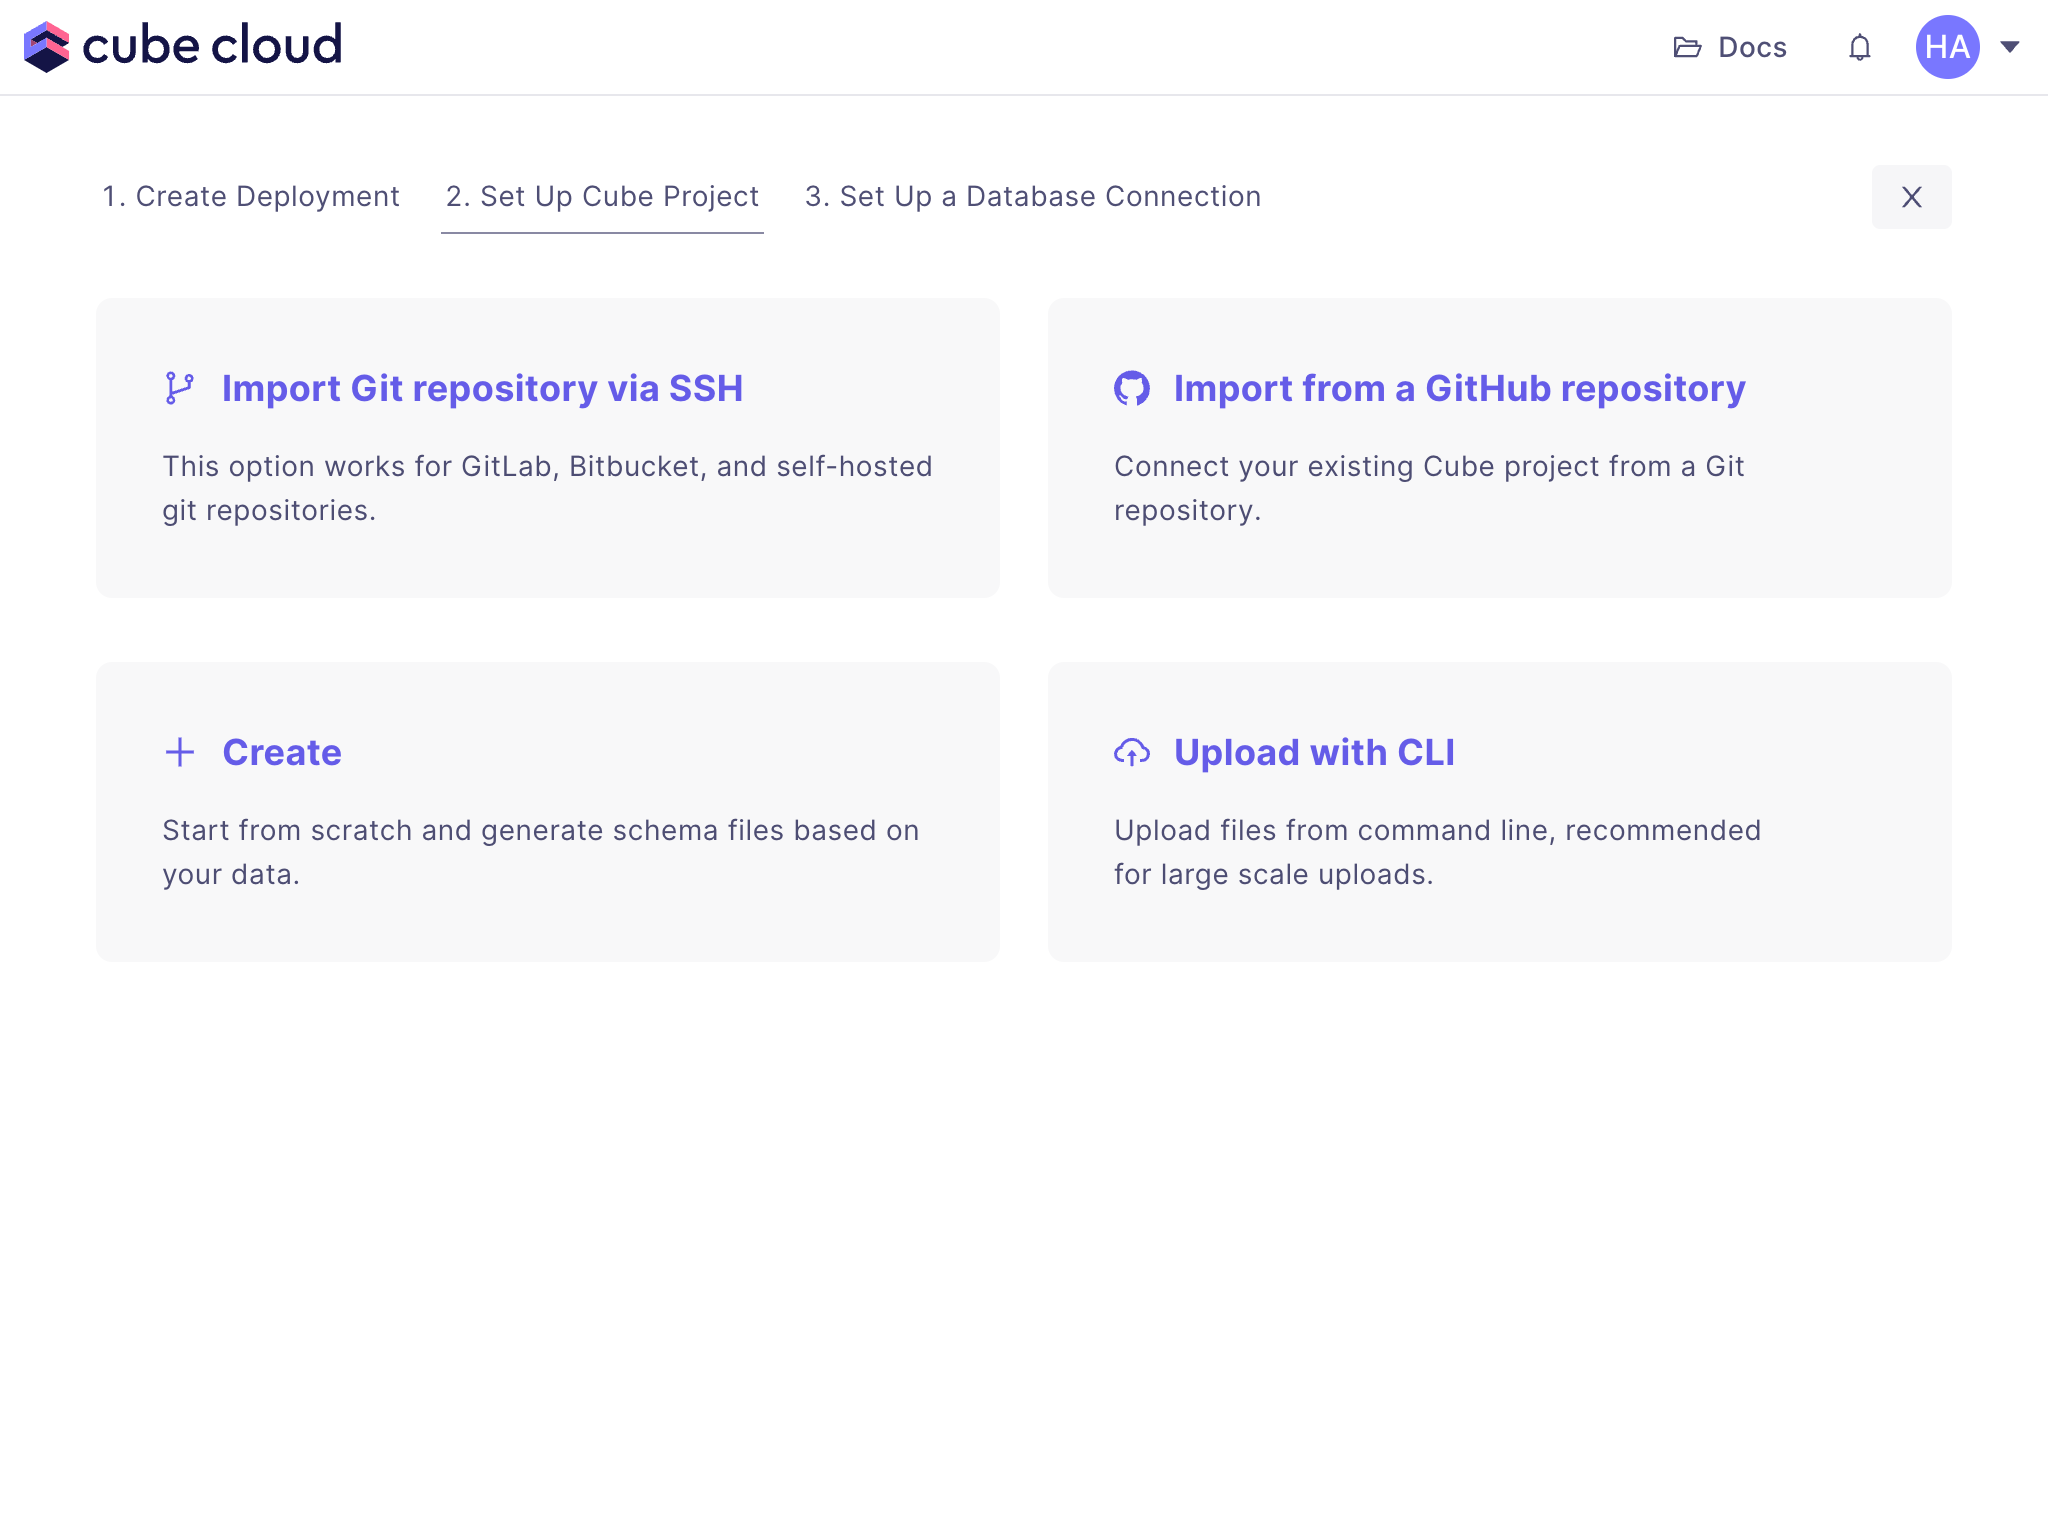
## Set up a Cube project
Next, click **Create** to create a new project from scratch:
Microsoft Azure is available on [Enterprise plan](https://cube.dev/pricing).
[Contact us](https://cube.dev/contact) for details.
## Set up a Cube project
Next, click **Create** to create a new project from scratch:
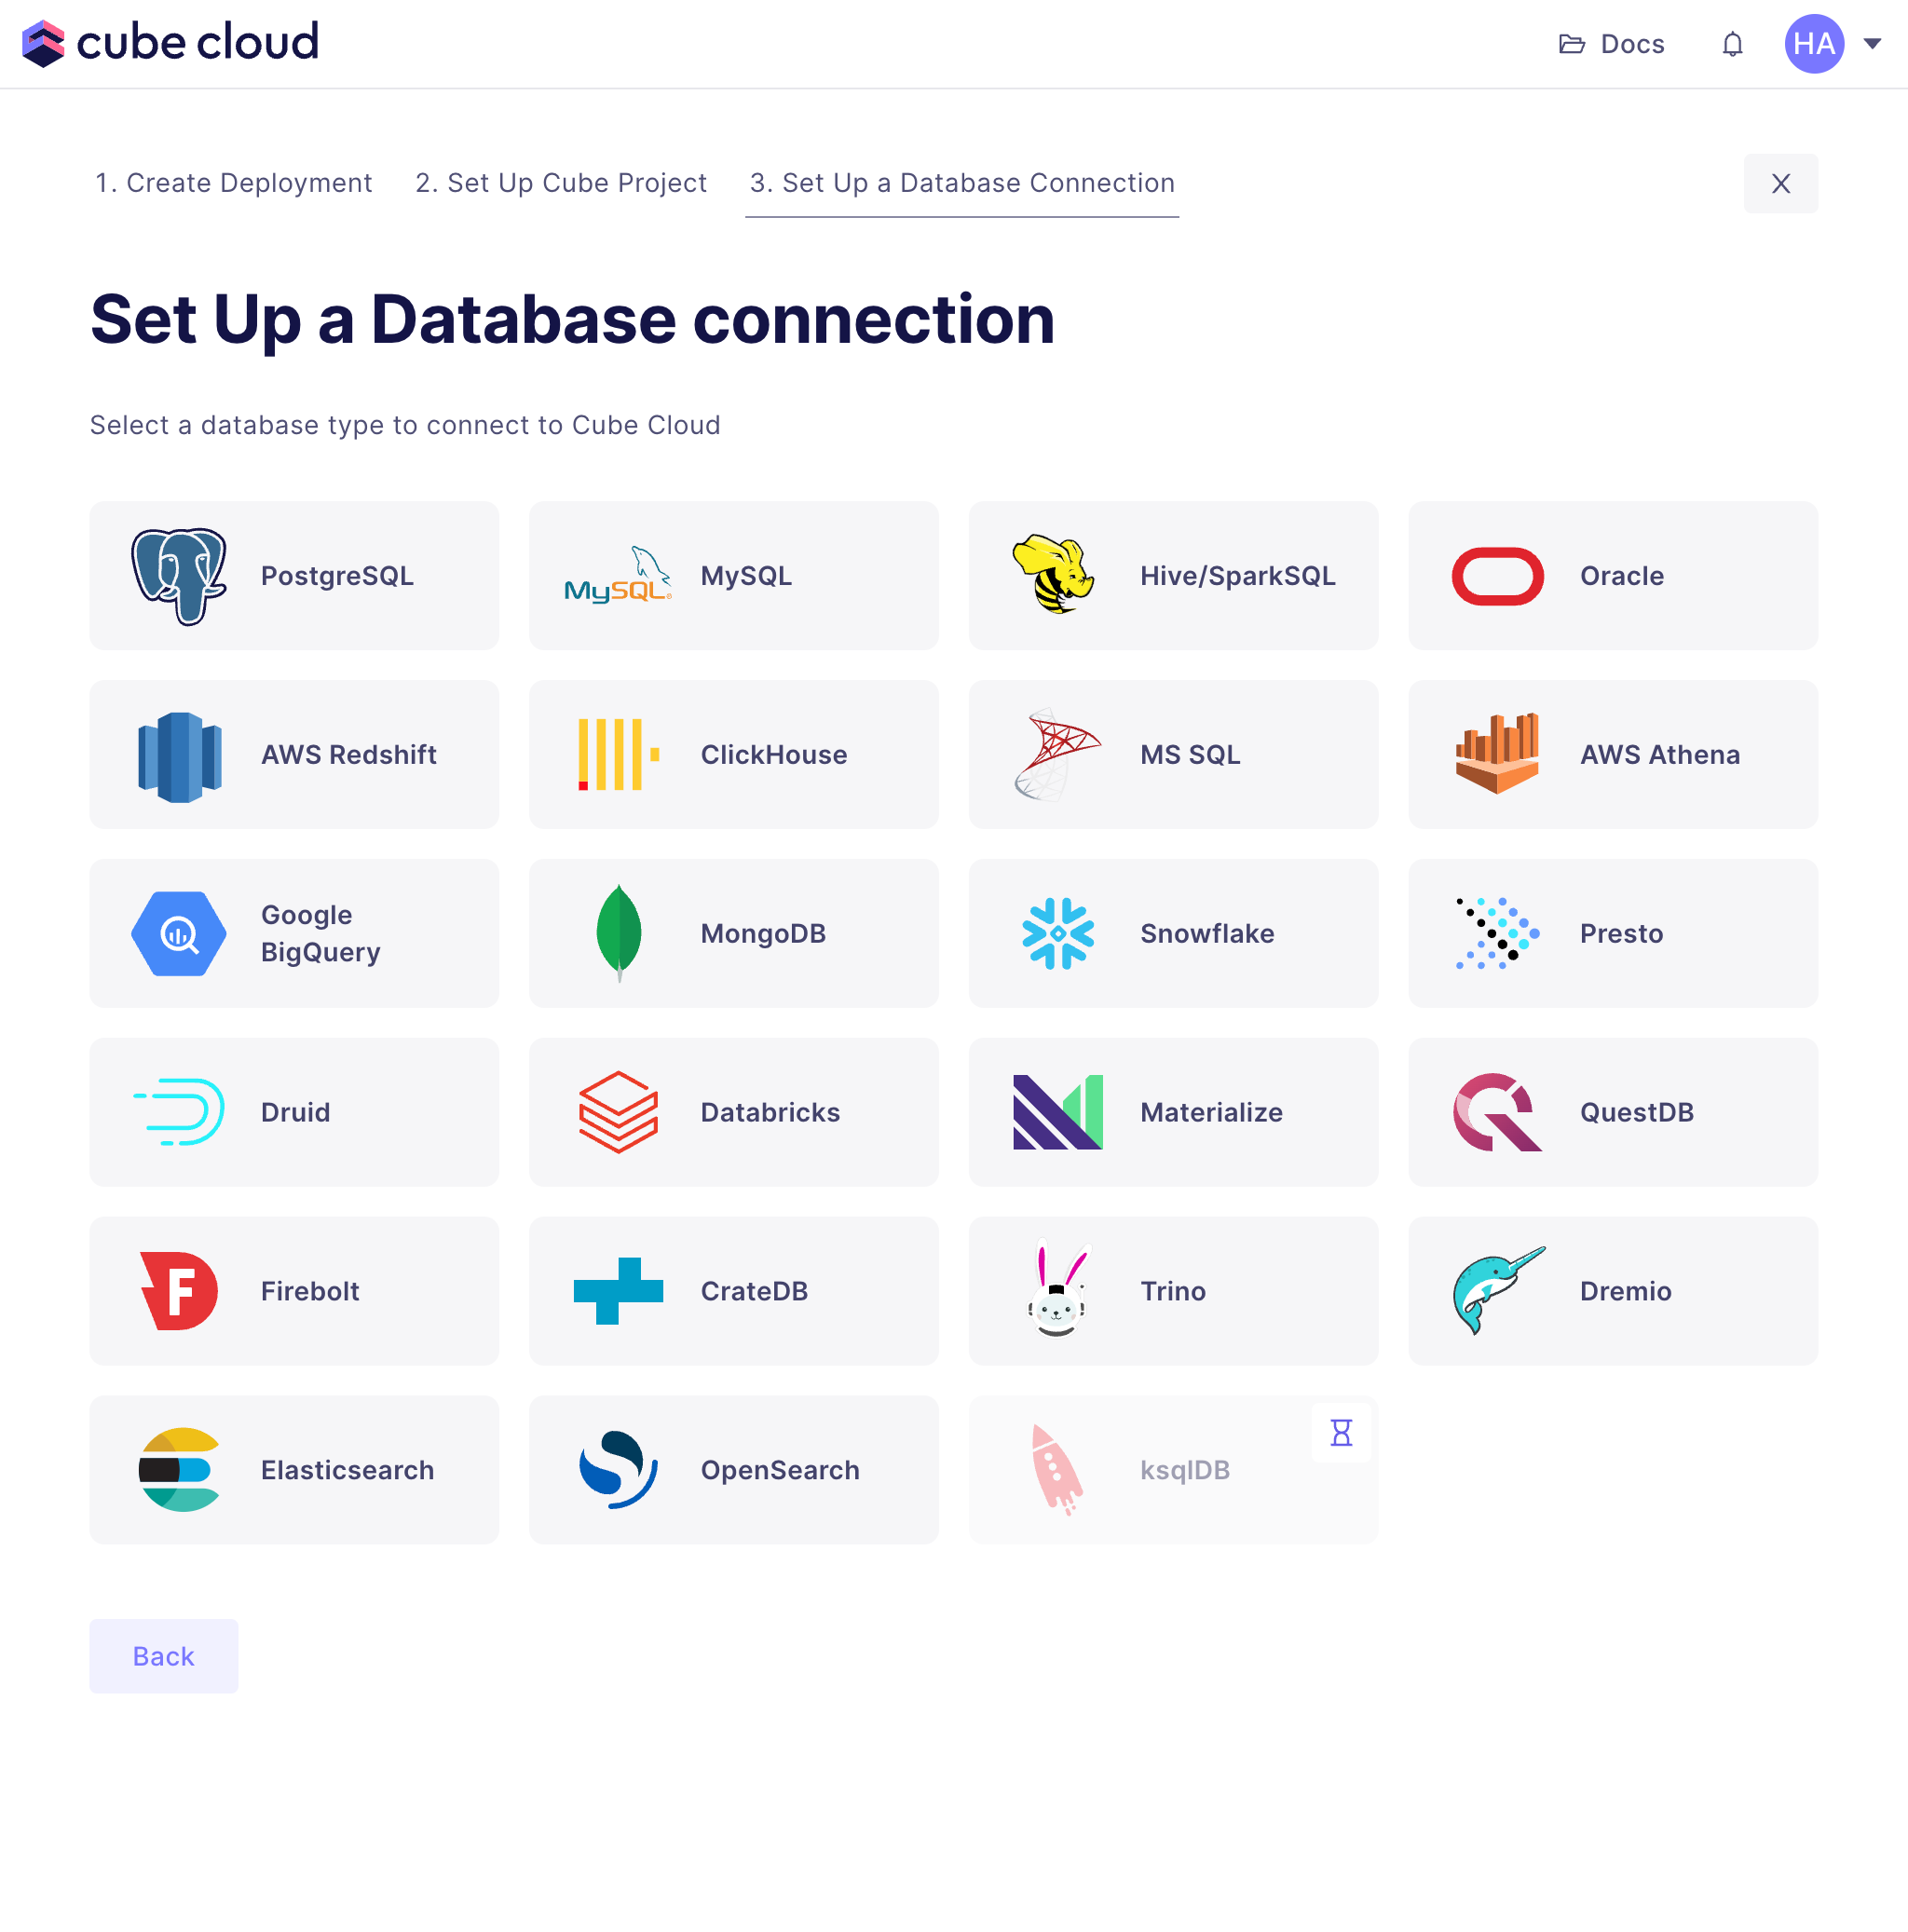
 ## Connect to your Snowflake
The last step is to connect Cube Cloud to Snowflake. First, select it from the
grid:
## Connect to your Snowflake
The last step is to connect Cube Cloud to Snowflake. First, select it from the
grid:
 Then enter your Snowflake credentials:
* **Username:** Your Snowflake username. Please note, it is usually **not** your
email address.
* **Password:** Your Snowflake password.
* **Database:** `CUBE_DEMO`, that is the database we've created in the previous
step.
* **Account:** Your snowflake account identifier. You can find it in your
Snowflake URL as the `account_locator` part.
* **Region:** Your Snowflake account region. You can find it in your Snowflake
URL. If your URL includes a `cloud` part, use both the `cloud_region_id` and
`cloud` together e.g. `us-east-2.aws`, otherwise just use `cloud_region_id`
* **Warehouse:** `CUBE_DEMO_WH`, that is the warehouse we've created in the
previous step.
* **Role:** You can leave it blank.
Click **Apply**, Cube Cloud will test the connection and proceed to the
next step.
## Generate data model from your Snowflake schema
Cube can now generate a basic data model from your data warehouse schema, which
helps getting started with data modeling faster. Select all four tables in our
`ECOM` schema and click through the data model generation wizard. We'll inspect
these generated files in the next section and start making changes to them.
[cube-cloud-signin]: https://cubecloud.dev/auth
[cube-cloud-signup]: https://cubecloud.dev/auth/signup
Then enter your Snowflake credentials:
* **Username:** Your Snowflake username. Please note, it is usually **not** your
email address.
* **Password:** Your Snowflake password.
* **Database:** `CUBE_DEMO`, that is the database we've created in the previous
step.
* **Account:** Your snowflake account identifier. You can find it in your
Snowflake URL as the `account_locator` part.
* **Region:** Your Snowflake account region. You can find it in your Snowflake
URL. If your URL includes a `cloud` part, use both the `cloud_region_id` and
`cloud` together e.g. `us-east-2.aws`, otherwise just use `cloud_region_id`
* **Warehouse:** `CUBE_DEMO_WH`, that is the warehouse we've created in the
previous step.
* **Role:** You can leave it blank.
Click **Apply**, Cube Cloud will test the connection and proceed to the
next step.
## Generate data model from your Snowflake schema
Cube can now generate a basic data model from your data warehouse schema, which
helps getting started with data modeling faster. Select all four tables in our
`ECOM` schema and click through the data model generation wizard. We'll inspect
these generated files in the next section and start making changes to them.
[cube-cloud-signin]: https://cubecloud.dev/auth
[cube-cloud-signup]: https://cubecloud.dev/auth/signup